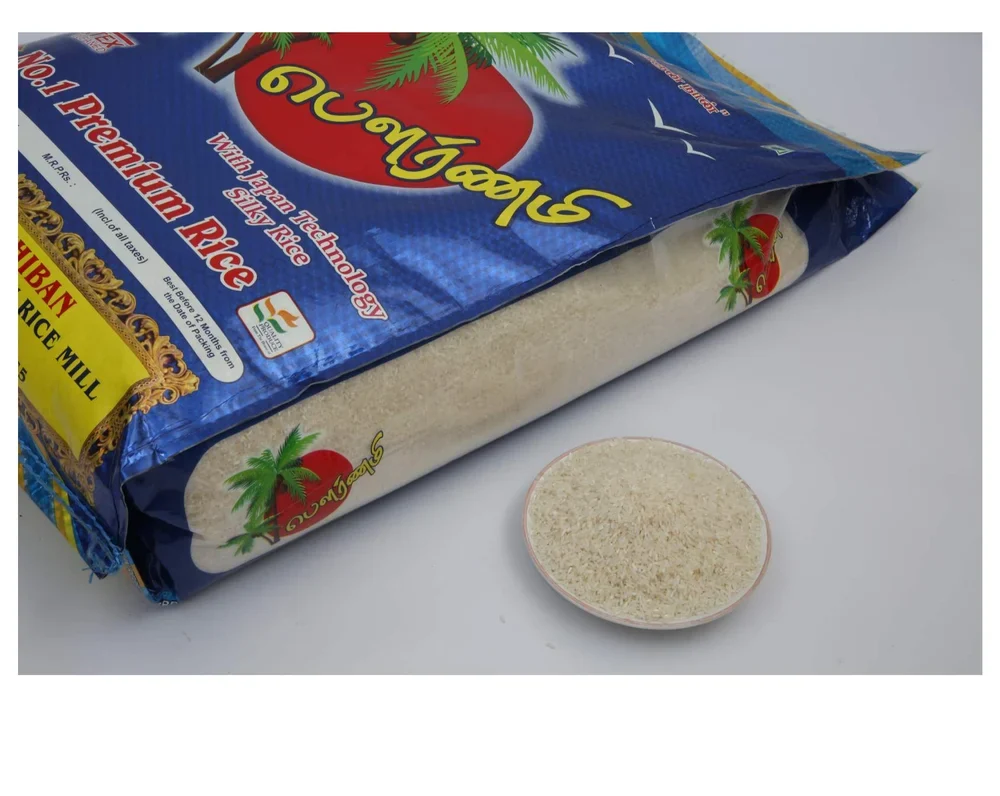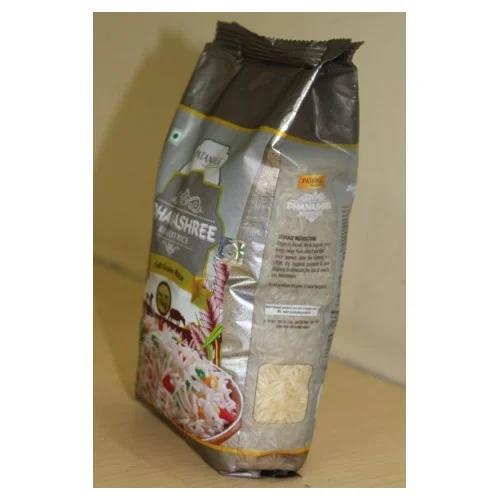
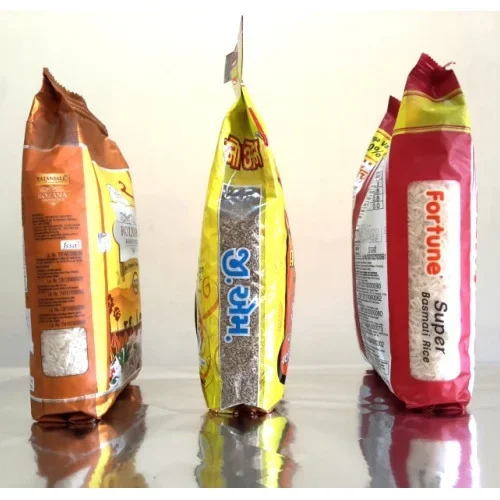
A rice-bag specification should describe the finished pack you want to receive. A front-view photograph and a fill weight are useful starting points, but they leave room for different materials, dimensions and supply arrangements. Use these ten fields to make the enquiry reviewable by the mill, packaging supplier and purchasing team.
This is an ordering checklist, not a list of universal sizes or thicknesses. If the construction is still undecided, compare seven rice packaging bag types first. The rice and grain packaging guide connects the checklist to sampling and approval.
1. The exact product and fill quantity
State the rice variety or grain product and its form, followed by the actual fill quantity for each pack. Avoid a broad description such as premium rice if the supplier needs to understand a specific product shape, dust level or packing condition. Identify anything the product team considers relevant to product contact and storage.
For a range, create one line per size and variant. Do not combine several weights into a single quantity and assume the supplier will divide them correctly. The product name on the brief should correspond with the design and pack size used during the sample trial.
2. The bag body and optional features
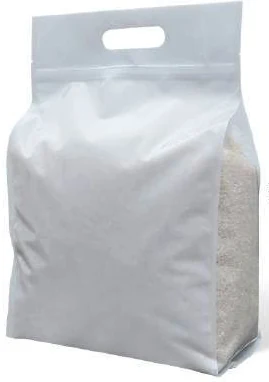
Describe the basic construction first: flexible gusseted bag, flat-bottom pouch, woven sack or another defined format. Then add the features, such as a window, handle, zipper or liner. This separates the body from the options and helps suppliers identify any proposed alternative.
Include a visual reference with a short explanation of what it shows. For example, specify that you prefer the window position but want a different handle. Without that note, a supplier may assume the photograph defines the whole pack. Refer to the rice bag range when choosing the features to discuss.
3. Usable dimensions and gusset convention
Provide width, height and gusset or depth in an identified unit. State whether these are external dimensions or usable product space, and whether the gusset is folded or fully opened. Mark any flap, handle area or closing allowance separately from the main body.
Attach a dimensioned drawing when available. If you are asking the supplier to recommend a size, provide the actual product and fill for a sample exercise instead of inventing an exact dimension. Approve the drawing only after checking the filled shape and the intended closing operation.
4. Material and layer construction
Ask for the complete proposed structure rather than only a surface description such as silver, glossy or clear. For a flexible bag, identify the layers and thickness proposal. For a woven sack, describe the fabric, print or lamination, liner and seams as separate components.
Where the supplier recommends an alternative, request it on a separate line. Matching overall thickness does not establish that two constructions perform alike. Keep the material description tied to the correct drawing, sample and quoted product so a later revision cannot be mistaken for the original offer.
5. Handle, filling opening and final closure
State whether a handle is required and identify its type, location and proposed attachment. Add the intended carrying load and the real handling task. The sample review should include the filled bag's grip, hanging shape and strain around the handle and body.
Identify the filling edge and final closing method. If a liner and outer sack are involved, describe the closing operation for each one. Keep the customer's eventual opening action in the brief too, especially where the pack is intended for pouring or repeated use.
6. Window and printed-panel layout
Show the window or clear-panel dimensions and position. Explain what the customer should see when the bag is filled and displayed. Check the view after settling, not just on an empty sample held flat. A side panel can be partly hidden when bags are stacked.
Map the front, rear and gussets around the actual filled shape. Identify spaces reserved for product information, codes, handles and seals. Give the supplier a controlled drawing so the clear area and print do not compete for the same part of the bag.
7. Artwork files and design count
List each design with its product name, size, file name and revision. State whether artwork is ready, in progress or needs assistance. Keep shared graphics and variable information clear so the correct variety and weight reach the correct pack size.
Request the applicable print-area or dieline information before final artwork approval. Review a proof at actual size and retain the approval reference. The artwork handover checklist covers file control and print review without assuming that a visual mockup is a production proof.
8. Quantity per size and design
Break the order into quantities per SKU and distinguish trial, first-order and repeat requirements where relevant. Ask how the quotation treats setup, sampling and order changes. Avoid treating a total range quantity as if it were the quantity for every artwork.
Agree the supply unit as well: individual finished bags, bundles, woven sacks with liners or roll-form material. If minimums or tolerances are quoted, ask how they apply to each line. A clear quantity table makes it easier to compare suppliers and plan receiving space.
9. Delivery destination and packing arrangement
Provide the delivery city, postcode and receiving-site requirements. Identify whether the order is supplied to one mill, a co-packer or several locations. Ask how empty bags will be bundled, labelled and protected during the shipment.
Distinguish the empty-packaging shipment from the later distribution of filled rice bags. Both matter, but they are different journeys. For a Miryalaguda project, include the actual destination alongside the regional packaging brief rather than relying on a city name in a product title.
10. Sample references and acceptance checks
Name the drawing, artwork and material samples that will form the approval record. Agree which checks establish fit, print, closing, carrying and dispatch suitability. Record observations against those references so an approved sample can be identified during a repeat order or complaint review.
Keep open decisions visible. If the material or handle remains subject to trial, mark that condition in the quotation comparison. The sample approval guide explains how to retain a usable reference rather than an unlabelled bag on a shelf.
Put the ten fields into one enquiry
| Enquiry line | Example of the information to supply |
|---|---|
| Product and quantity | Your exact rice product, fill and number of bags per design |
| Drawing | Identified width, height, gusset convention and closing area |
| Construction | Proposed layers, seams, handle, window and any liner |
| Artwork | File names, revisions, design count and approval status |
| Approval and delivery | Sample checks, bundle format, destination and order terms |
Use the RFQ template to turn the checklist into a purchasing document. Revisit the rice-bag types list if options remain open, then keep the agreed details with the final rice packaging specification.
Sources and scope.
These references support the technical discussion. Product photographs illustrate formats; the material, dimensions and suitability of the proposed pack are confirmed for each project.
- IRRI Rice Knowledge Bank: Equilibrium moisture content
Background on grain moisture and the storage environment. Paddy guidance is not used to prescribe a universal moisture limit or shelf life for packaged milled rice.
Let’s discuss your product.
Share your contents, dimensions, filling method, quantity and delivery destination. We’ll work through the proposed packaging specification with you.
Create a packaging brief