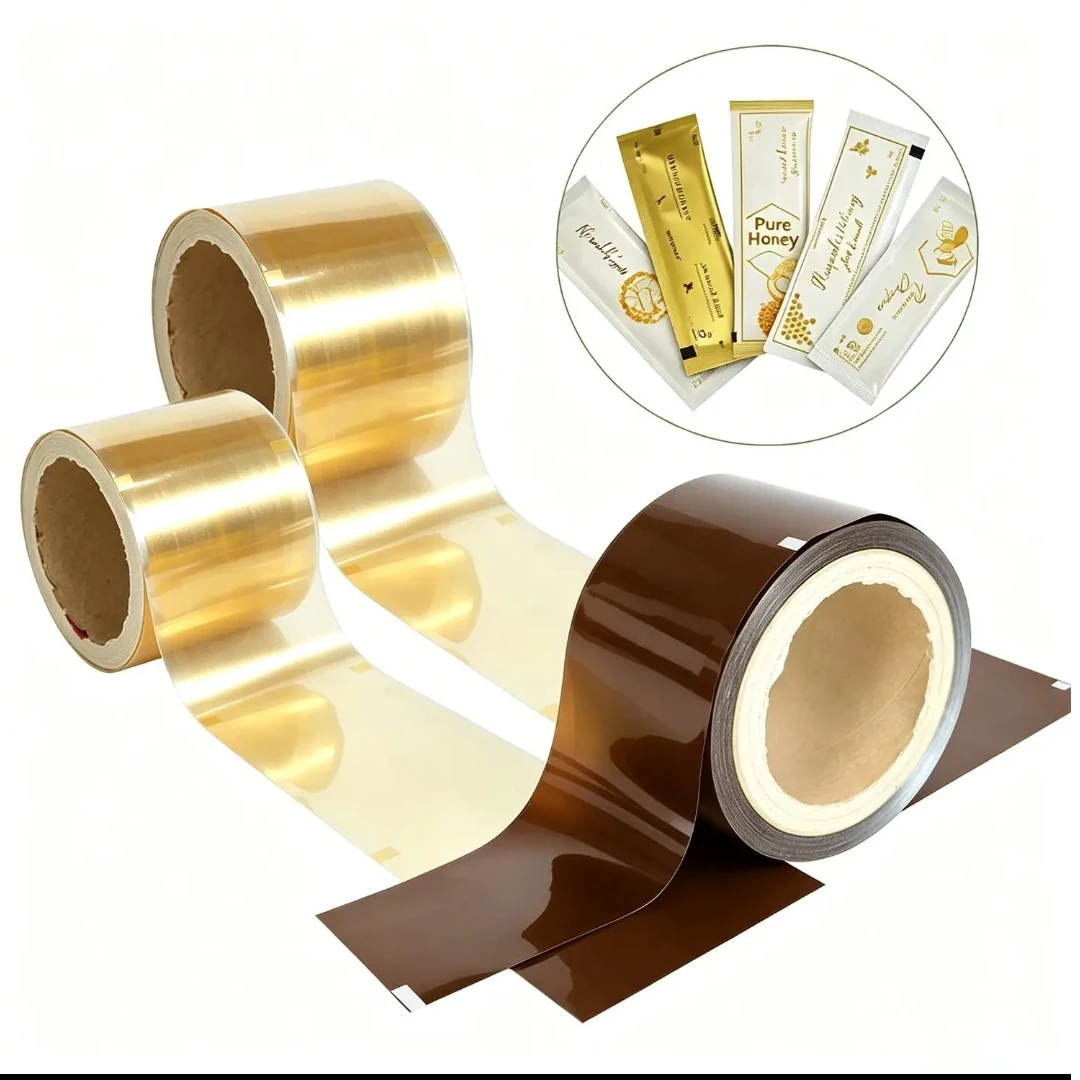
Specify film unwind direction with a drawing showing both the relevant face and the artwork edge that leads off the reel. A number from an unwind chart is useful only when both parties use the same chart and viewing convention. Ask the receiving line team to approve the diagram for the reel as delivered. That is more reliable than writing print outside or sending a photograph without an identified unwind path.
Define the viewing convention first
Draw the reel with a visible tail and an arrow showing film movement. Label the side from which the drawing is viewed and mark the front of the artwork. If the structure is reverse printed, ask the converter to clarify how the artwork is viewed through the film rather than assuming the inked surface is the external printed face. The goal is a shared practical orientation, not a debate about chart terminology. Include a small readable label or arrow in the artwork representation so a rotated rectangle cannot look identical in several views.
Trace the web into the packing operation
Ask the line owner to show how the delivered reel is mounted and where the film travels next. Identify which edge or panel must reach the forming or wrapping section first. Do this from the actual machine requirement or a controlled route drawing; different arrangements may use different unwind conventions. Where the material will pass through an additional inspection or rewind operation, specify the required delivered condition and let the responsible parties account for intermediate changes. A diagram approved at printing is insufficient if the final winding direction changes later.
Verify the diagram against a representative reference
Use an agreed sample tail or trial reel to compare the written requirement with physical orientation before normal production. Mark the sample identity and the applicable artwork revision. Do not rotate a digital proof to make it look right without updating the controlled unwind record. Ask the converter to include the agreed orientation reference on the supply documentation where practical. During incoming review, use the diagram and identification record; avoid relying on staff memory or a handwritten statement that a reel is wound normally.
Complete an unwind agreement card
The card should be understandable without access to the original email conversation. Include the source chart if one is used, but preserve the explicit diagram so future readers can interpret the direction independently.
| Record | What to capture and how to use it |
|---|---|
| Viewing side | State the side from which the reel and tail are drawn. Add a film travel arrow and a recognisable artwork label so the view cannot be confused with a mirror image or a rotated blank rectangle. |
| Relevant face | Identify the external viewing face and other functional faces as required by the technical team. Ask the converter to explain the actual construction rather than assuming print outside means that ink is on the outermost surface. |
| Leading artwork edge | Mark which labelled edge of the repeat leaves the delivered reel first. Show the finished pack orientation beside it so the receiving team can confirm the relationship between the web and the intended package. |
| Delivered condition | Name the point in the supply route to which the agreement applies. Include any known downstream rewind or inspection step and assign responsibility for preserving the orientation needed at the receiving packing operation. |
| Verification reference | Record the approved drawing, artwork revision and sample or trial reel identity. Use these references in incoming checks and future reorders, and issue a revised card whenever the delivered orientation requirement changes. |
Ask the line owner and converter to approve the same card. A buyer can coordinate the decision, but should not invent the machine’s required web path from a photograph or a previous supplier’s numbering system.
Illustrative chart-number mismatch
One party calls an orientation number three using its own chart; the other uses a chart with different numbering. Both believe the instruction is clear. A drawing reveals that the artwork edge leading off the reel differs. The team replaces the number-only instruction with a tail diagram, face label and delivered-condition statement. The line owner confirms the result against the actual route. No numerical machine setting is needed to resolve the communication problem, and the approved card becomes part of the repeat-order specification.
Poly Print publishes an orientation chart. IoPP/SPMC discusses rollstock specification fields.
Describe orientation with three independent cues
An unwind agreement should identify the observer's view, the relevant film face and the artwork edge that leaves the reel first. A supplier chart number is only a shorthand after these cues agree. Without a viewing convention, two people can describe the same reel from opposite ends and believe the other person has reversed the web.
Draw an arrow showing web travel away from the reel. Add a recognisable word or asymmetric graphic rather than a plain rectangle. Mark whether the printed face is presented towards or away from the observer in that drawing. Use one convention on every approval reference, including the sample photograph, so a mirrored image or rotated page cannot quietly change the intended meaning.
Trace the faces through the actual web path
Follow the material from mounting through the relevant rollers to forming and closure. The drawing should show the resulting package face and intended product-contact side. Do this with the line owner; the number of turns and the forming arrangement belong to the actual equipment. Do not improvise a threading sequence from a generic illustration.
Poly Print's unwind chart illustrates orientation choices using print and leading-edge relationships. It provides a visual vocabulary, not a universal numbering system across converters. Use the chart to start the conversation, then issue the project's own explicit diagram. Keep that diagram with the delivered-reel specification so supply and receiving teams interpret the same orientation.
Build a low-cost physical demonstration
A paper strip carrying the front artwork and a direction arrow can help resolve an early orientation question. Roll it as proposed and let the line owner trace the intended face through a conceptual route. Label this as an orientation demonstration. Paper behaviour cannot qualify film running, friction, sealing or registration, so keep the conclusion limited to the visual relationship.
For the production decision, compare the approved diagram with a representative reel or reference prepared through the intended route. Photograph the leading edge and label from the agreed side. If the sample differs in a way that affects orientation, explain the difference. An attractive package photograph at the end of the process is less useful than an unambiguous view of how the web starts.
Diagnose a mismatch before changing the file
When an incoming reel appears reversed, first compare it with the approved diagram using the same viewing side. Check whether the artwork was rotated, the photograph was mirrored or the chart number came from another convention. These are document questions that should be resolved before concluding that the reel was manufactured incorrectly.
If the physical presentation truly differs, retain the reel identity and a marked photograph. Ask the responsible converter and line owner to review disposition. Do not suggest rewinding, reversing a machine path or changing setup without their assessment. Such actions may alter other interfaces and belong to the site's controlled operation, rather than an informal attempt to rescue an ambiguous instruction.
Control orientation across design variants
Two similar artworks can have different leading-edge cues even when their layout dimensions match. Check each variant against its own approved reference. If common tooling or a shared web layout is proposed, identify which orientation remains common and which artwork elements vary. This keeps a family of packs from being treated as interchangeable simply because they share a size.
For repeat orders, retain the descriptive diagram alongside the shorthand code. If either supplier or packing route changes, compare the actual conventions again. A brief joint review can confirm the unchanged relationship or reveal a real difference. The purpose is a repeatable agreement about the delivered web, with enough visible evidence for someone outside the original discussion to verify it.
Film web width: a practical specification example
A packing team receives a film quotation with a web width but no approved drawing. Before comparing prices, relate the film to one complete pack cycle and to the way the reel will be loaded. A change to the final pack can alter several reel parameters at once. Keep the drawing, artwork revision and reel specification together so a repeat order describes the same item.
For this decision, start with the pack face and forming allowances supplied by the line owner. The useful output is a width calculation showing which allowances are included. Put that output beside the relevant quotation, drawing or sample rather than leaving it in a separate email. This is an illustrative decision exercise, not a report of a completed customer trial.
Product references to make the discussion concrete
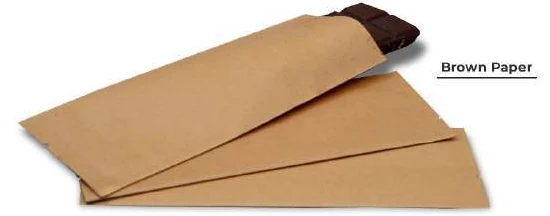
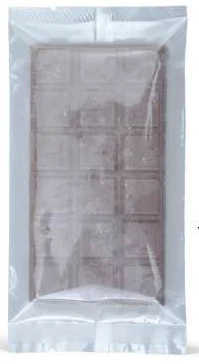
The catalogue includes chocolate and energy-bar wrappers and side-gusset pouches. These examples show different physical constructions; they are not interchangeable specifications. Compare clear and paper-look wrapper references around the actual bar dimensions. The wrapper must allow space for longitudinal and end seals as well as the product thickness. Supply the finished product envelope and intended wrapping route before setting the artwork repeat.
| Format reference | Material or construction to clarify | Details to include in the brief |
|---|---|---|
| Chocolate and energy-bar wrappers | Transparent or paper-look flexible wrapping construction; product-contact layer and sealant are specified for the contents. | Bar length, width and thickness; wrapping direction and print repeat. |
| Side-gusset pouches | Paper-look and opaque or foil-look laminates are illustrated; confirm the actual inner and outer layers for the contents. | Face width and side-gusset convention; filled height and headspace. |
Use the reference pictures to identify the base, side panels, window or opening that you mean. A picture cannot supply the missing dimensions or material layers. If a photograph shows a finish or closure you do not want, state that difference explicitly; otherwise a visual reference can introduce an unintended requirement.
Complete the record before requesting the next sample
- Attach a width calculation showing which allowances are included. Identify the product or SKU and the date of the observation.
- Record the pack face and forming allowances supplied by the line owner. Keep confirmed information separate from proposed values and questions for the supplier.
- Add the actual fill weight or volume, the dimension convention, material proposal and intended closure. Include the number of designs and quantity per design when requesting a quotation.
- State which question the next drawing, sample or quotation must resolve. A change of size, closure or material should remain visible alongside the earlier reference.
This record makes the next conversation specific. It lets the design, purchasing and packing teams work from the same proposed item and shows which decision still needs evidence. Review the related product pages for format details, or prepare a custom packaging brief with the unresolved requirements.
Make orientation a controlled field
Use the agreed card in the purchase order reference and incoming review. If artwork is rotated, lanes are rearranged or the receiving equipment changes, ask whether the unwind relationship needs another approval. Keep the original chart and diagram together so a future supplier can state any deviation clearly. This reduces ambiguity without claiming that one chart number is a universal standard.
Send the completed unwind agreement card with your product and filling details to Navkar Poly Print for a project-specific discussion. Ask for the proposed specification, evidence required and open questions to be recorded before quotation approval.
Sources and scope.
These references support the technical discussion. Product photographs illustrate formats; the material, dimensions and suitability of the proposed pack are confirmed for each project.
- Poly Print unwind chart
Converter chart demonstrating the need to agree print face and leading edge together.
- IoPP/SPMC guide to writing rollstock specifications
Institute-hosted specification guide; medical-package context requires application-specific interpretation.
Let’s discuss your product.
Share your contents, dimensions, filling method, quantity and delivery destination. We’ll work through the proposed packaging specification with you.
Create a packaging brief