Record filled pouch geometry under stated conditions before choosing a size. Measure the opening used for filling, observe the deployed base and product-to-closure clearance, then check the closed shape against the intended shelf and carton. A single outside-width figure or an attractive prototype photograph cannot describe all five tasks. The output is a geometry observation sheet that makes the physical fit questions reproducible.
Declare the sample state before measuring
Identify the product form, actual fill quantity, pouch drawing and sample reference. Record whether the sample is open for filling, filled before closing, closed and standing, or arranged in a carton. State any settling, support or deliberate shaping used for the observation. A number recorded without its state can be compared with a different state later and create a false dimensional difference.
GS1's package measurement standard supplies defined trade-item measurement conventions. Use the applicable customer convention when producing product data, and declare the method used for this internal geometry review. Keep those filled measurements distinct from the converter's empty-component drawing. This worksheet does not establish a manufacturing tolerance or a laboratory test method.
Observe the mouth, base and clearance separately
At the intended filling state, show the mouth and any fold intrusion relative to the actual filling interface. Describe or measure the useful access through an agreed method, rather than substituting flat face width for the available opening. If the sample is hand-filled, record that fact so the geometry observation is not represented as an automatic-line trial.
Record whether the base opens as intended after normal filling, and measure the occupied footprint in the stated resting condition. Then locate the nearest product region relative to the intended final closure reference. State how clearance is observed, particularly when product is uneven or can move. A settled clearance observation does not establish that the region remains clear throughout filling or that a final seal is technically accepted.
Use a five-interface geometry sheet
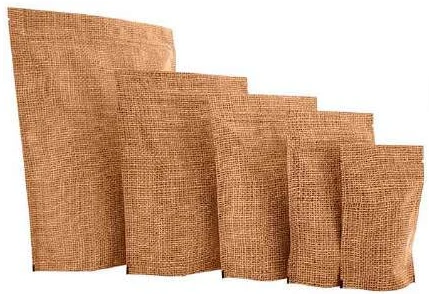
Use one sheet per candidate and quantity. Attach labelled front, side and base views where they clarify the measurement references.
| Interface | Geometry observation | Condition that must accompany it |
|---|---|---|
| Filling mouth | Available access and fold intrusion relative to the intended tool or interface | Open state, actual presentation and measurement reference |
| Base | Deployment, occupied width/depth and any trapped fold | Filled quantity, resting surface, support and settling state |
| Closure clearance | Product position relative to the defined closing reference | Before or after settling, open/closed state and method |
| Shelf | Occupied height/depth and obstruction by the intended fixture | Closed sample, display orientation and any tray support |
| Carton | Actual arrangement envelope and contact near pouch features | Filled units, count, orientation and usable carton space |
Add measured values or precise descriptions, units, sample ID and photograph reference to the relevant row. The Quantum Packaging measurement guide separates empty height, width and side-gusset references. Preserve that dimensional clarity while recording the additional filled observations this sheet requires.
Check shelf and carton envelopes physically
Use the intended shelf opening or an identified physical gauge. Record the usable space after lips, rails or trays are included, then record the filled pouch's occupied envelope. Check the actual view and support condition instead of carefully arranging one specimen to make it appear stable. A supported tray observation should remain labelled as supported.
Arrange representative closed units in the proposed carton and record count, orientation and the actual occupied envelope. Identify contact near the closure, zipper or spout where relevant. Empty-pouch dimensions and a rigid-box volume calculation cannot replace this physical arrangement. These are fit observations; route performance and product protection need their own applicable evidence.
Illustrative geometry record, not acceptance limits
An illustrative closed specimen occupies 218 mm of height in a shelf opening with 220 mm of usable clearance. The recorded geometric difference is 2 mm. That calculation does not establish whether placement and removal are acceptable; the actual fixture task and agreed requirements still control that decision.
For the same illustrative candidate, a physically arranged set occupies 206 mm of depth in a carton with 210 mm of usable depth, leaving a recorded difference of 4 mm. Do not derive that result by multiplying the empty gusset dimension. Retain the actual arrangement and feature-contact observations. All figures here demonstrate how to write a record, not a recommended pouch, clearance or carton specification.
Use the same reference points in every view
Mark the base, top, mouth and feature references on the front and side images. A measurement can be numerically correct yet answer a different question if its endpoints change between candidates. Keep units and the sample state beside the reading. The reviewer should be able to locate the same points on the retained specimen or drawing.
For the mouth, distinguish outside face width from the actual access presented to the filling interface. For the base, distinguish the contact region from the widest occupied body. For the shelf and carton, identify the maximum relevant envelope and any protruding feature. These distinctions make the five-interface sheet more precise without adding an invented tolerance.
Record preparation as part of the geometry
State any settling, manual shaping or support used before measuring. If a candidate only produces the observed base after hand adjustment, keep that action in the record. It may be part of an intended operation or an unresolved dependency. An undocumented intervention can make two samples appear equivalent when they reached their shapes differently.
Use representative product and actual quantity for the stated task. If a substitute is necessary, explain which geometry question it can answer. A rigid object can show a simple clearance conflict while failing to represent the moving profile of loose contents. Keep the conclusion limited to the observed specimen and condition.
Show a local mismatch before changing the whole size
An illustrative candidate may have adequate shelf height but restricted mouth access. Another may open readily while its base occupies too much carton depth. Mark the failed interface on each sheet. Do not respond to both with the same instruction to make the pouch larger. The relevant geometry proposal depends on where the mismatch occurs.
Ask the converter and receiver to identify the changed relationship and the next observation. A wider mouth can affect the top arrangement, while a deeper body can affect the shipping envelope. Retain the other four interfaces as comparison references. This allows a focused design iteration without turning the sheet into a general production approval dossier.
Keep differences visible across the sample set
If several representative specimens are observed, retain individual readings and preparation conditions. Do not record only the smallest envelope because it fits the fixture. A small set describes those observations; it does not establish a manufacturing capability distribution. The technical team can decide whether more evidence is needed for the proposed geometry decision.
When samples differ in construction, feature or filling method as well as dimensions, state that clearly. Describe a comparison of the complete candidates unless the evidence supports a narrower conclusion. A preferred filled shape does not by itself prove which dimension or material characteristic caused the difference.
Separate fit evidence from the next technical gate
The sheet can establish what was measured and where interference was observed. It does not establish closure strength, leak performance, formulation compatibility or transport qualification. Link the relevant records when those questions matter, while keeping the public explanation focused on geometry and fit.
The accepted geometry reference should therefore carry its condition, not an unrestricted pass label. Procurement can use it to request a specific dimensional proposal or compare another candidate under the same tasks. The resulting record is useful because another reviewer can reproduce the physical question, understand the measured relationship and see exactly which interface the next design must improve.
Filled geometry: a practical specification example
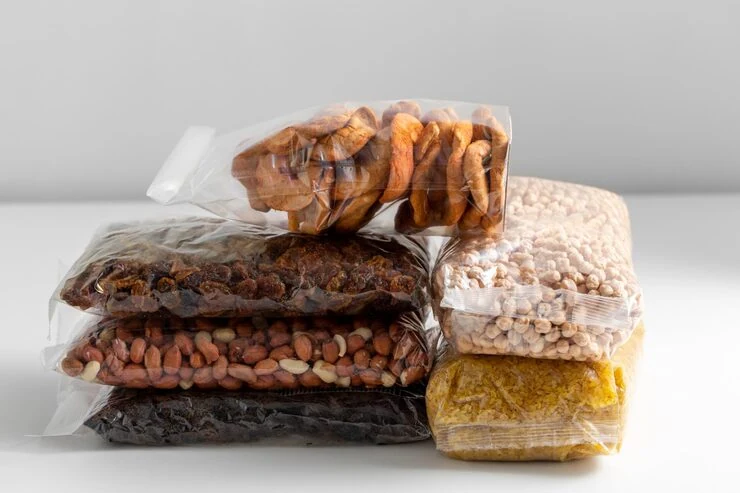
A 250 g target is written on a brief before the product volume is known. Weighing the contents alone does not establish a pouch size: loose bulk, settling, shape and headspace all affect the usable cavity. A tall narrow pack and a wider shallow pack can have different handling and display characteristics. Compare filled samples before translating one reference into a new format.
For this decision, start with the pack after filling and settling. The useful output is front and overhead views with a ruler for scale. Put that output beside the relevant quotation, drawing or sample rather than leaving it in a separate email. This is an illustrative decision exercise, not a report of a completed customer trial.
Product references to make the discussion concrete
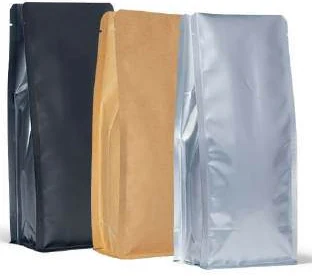
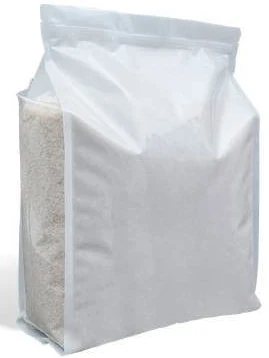
The catalogue includes flat-bottom pouches and side-gusset pouches. These examples show different physical constructions; they are not interchangeable specifications. A box-style base gives the filled pack a distinct footprint, with separate front, back and side panels. Compare a plain top opening with a regular zipper, and use filled samples to decide the shelf depth and panel proportions.
| Format reference | Material or construction to clarify | Details to include in the brief |
|---|---|---|
| Flat-bottom pouches | Flexible laminate with paper-look or opaque outer options; the appearance alone does not identify the full layer structure. | Base width and full opened depth; net fill and product bulk. |
| Side-gusset pouches | Paper-look and opaque or foil-look laminates are illustrated; confirm the actual inner and outer layers for the contents. | Face width and side-gusset convention; filled height and headspace. |
Use the reference pictures to identify the base, side panels, window or opening that you mean. A picture cannot supply the missing dimensions or material layers. If a photograph shows a finish or closure you do not want, state that difference explicitly; otherwise a visual reference can introduce an unintended requirement.
Complete the record before requesting the next sample
- Attach front and overhead views with a ruler for scale. Identify the product or SKU and the date of the observation.
- Record the pack after filling and settling. Keep confirmed information separate from proposed values and questions for the supplier.
- Add the actual fill weight or volume, the dimension convention, material proposal and intended closure. Include the number of designs and quantity per design when requesting a quotation.
- State which question the next drawing, sample or quotation must resolve. A change of size, closure or material should remain visible alongside the earlier reference.
This record makes the next conversation specific. It lets the design, purchasing and packing teams work from the same proposed item and shows which decision still needs evidence. Review the related product pages for format details, or prepare a custom packaging brief with the unresolved requirements.
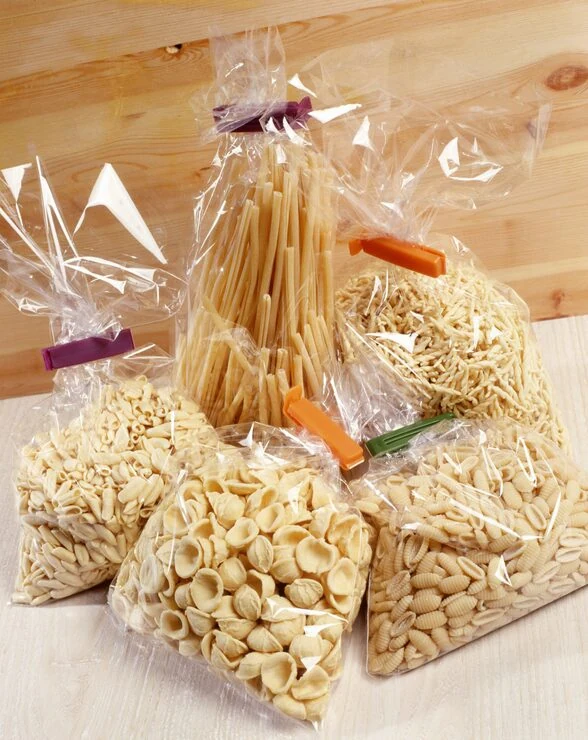
Turn the observations into a geometry question
Compare candidates using the same product and quantity where practical. Identify the particular mismatch: restricted mouth access, incomplete base opening, reduced closing clearance, shelf interference or contact in the carton. Ask for a dimensional or geometric proposal against that observed issue. If several variables differ, describe a comparison of complete candidates rather than attributing the result to one dimension alone.
Send Navkar Poly Print the five-interface geometry sheet, labelled measurement views and actual product brief. Request candidate dimensions that address the recorded fit issue, keeping material suitability, closure qualification and broader sample signoff in their respective review records.
Sources and scope.
These references support the technical discussion. Product photographs illustrate formats; the material, dimensions and suitability of the proposed pack are confirmed for each project.
- GS1 Package and Product Measurement Standard
Distinguishes measurement treatment for different filled flexible-pack types; does not set converter tolerances.
- Quantum Packaging: measuring a side-fold pouch
Named total height, width and side-gusset measurement convention; not a universal capacity chart.
Let’s discuss your product.
Share your contents, dimensions, filling method, quantity and delivery destination. We’ll work through the proposed packaging specification with you.
Create a packaging brief